Building an infinite carousel in Bubble.io (for free) - 2026
Learn how to quickly build an infinite carousel in a Bubble.io application, for free.

Thomas Couderq
16 Jan 2025


You've probably already seen this type of animated carousel around the web. It is one of the most widely used component in Front-End Development.
But creating this type of slider in Bubble is not that easy to do for a beginner (without using a paid plugin at least).
And that's a shame, because they are an amazing addition to any website. They had a touch of dynamism and they really attract the eye.
Which is why, in this article, we are going to show how to re-create this effect, without paying for a plugin, and within 5 minutes !
Please note that you can find another article that shows you how to make a carousel in Bubble.
Step 1 : Install Classify plugin
The first step of our implementation is to installe Classify.
In short, it is a free plugin for Bubble that lets you add CSS Classes to any Bubble element.
If you don't know what CSS is, it is a programming language that is used across the web to style websites, add animations, effects and a lot of other things.
For example, in Bubble when you add transitions to your elements you actually add a CSS Transition to the element.
But even though Bubble has some CSS Possibilities, it lacks the majority of it.
Which is where Classify comes in handy, as it allows use to fully leverage CSS Capabilities with Bubble !
So go ahead and install this plugin into your app, you won't regret it !
Step 2 : Enable HTML ID Attributes
Before anything, you need to make sure that the option to expose the elements ID is enabled into your application.
We've already covered this in other tutorials, but let's explain it again :
To enable this, head over to settings --> General and find the following option :
"Expose the option to add an ID attribute to HTML elements"

This will make this new input appear within your elements property panel

Step 3 : Create your elements
Okay, now let's get started on building on elements !
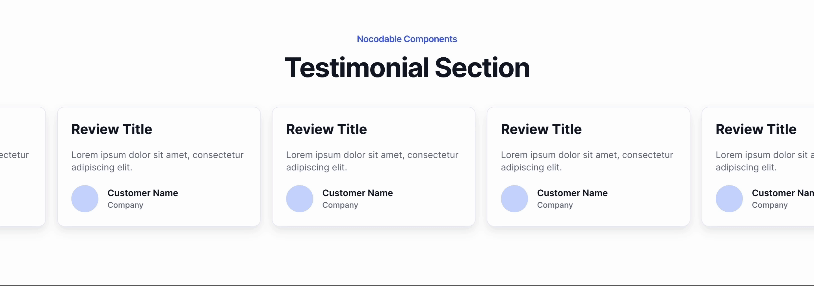
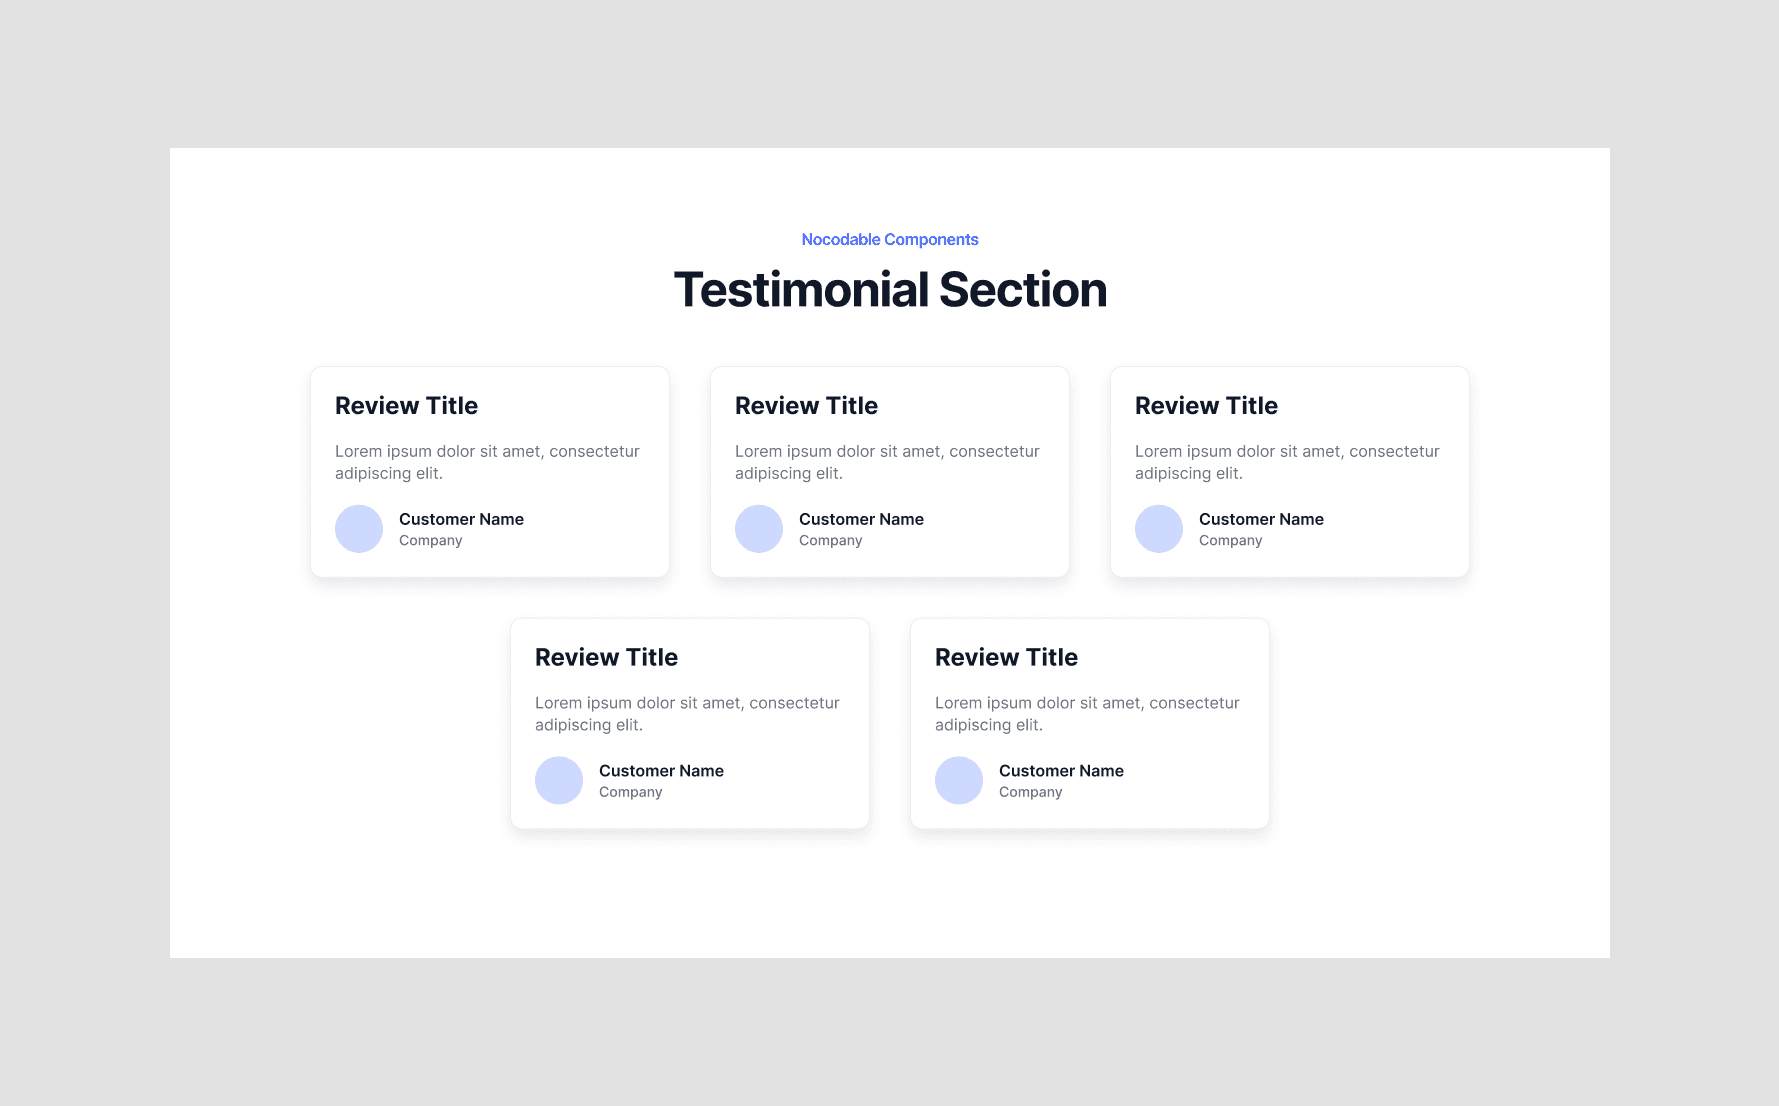
In our example we'll customize some testimonial cards from Nocodable Component's library, but you can use whatever you want like Logos, Features, Images etc...

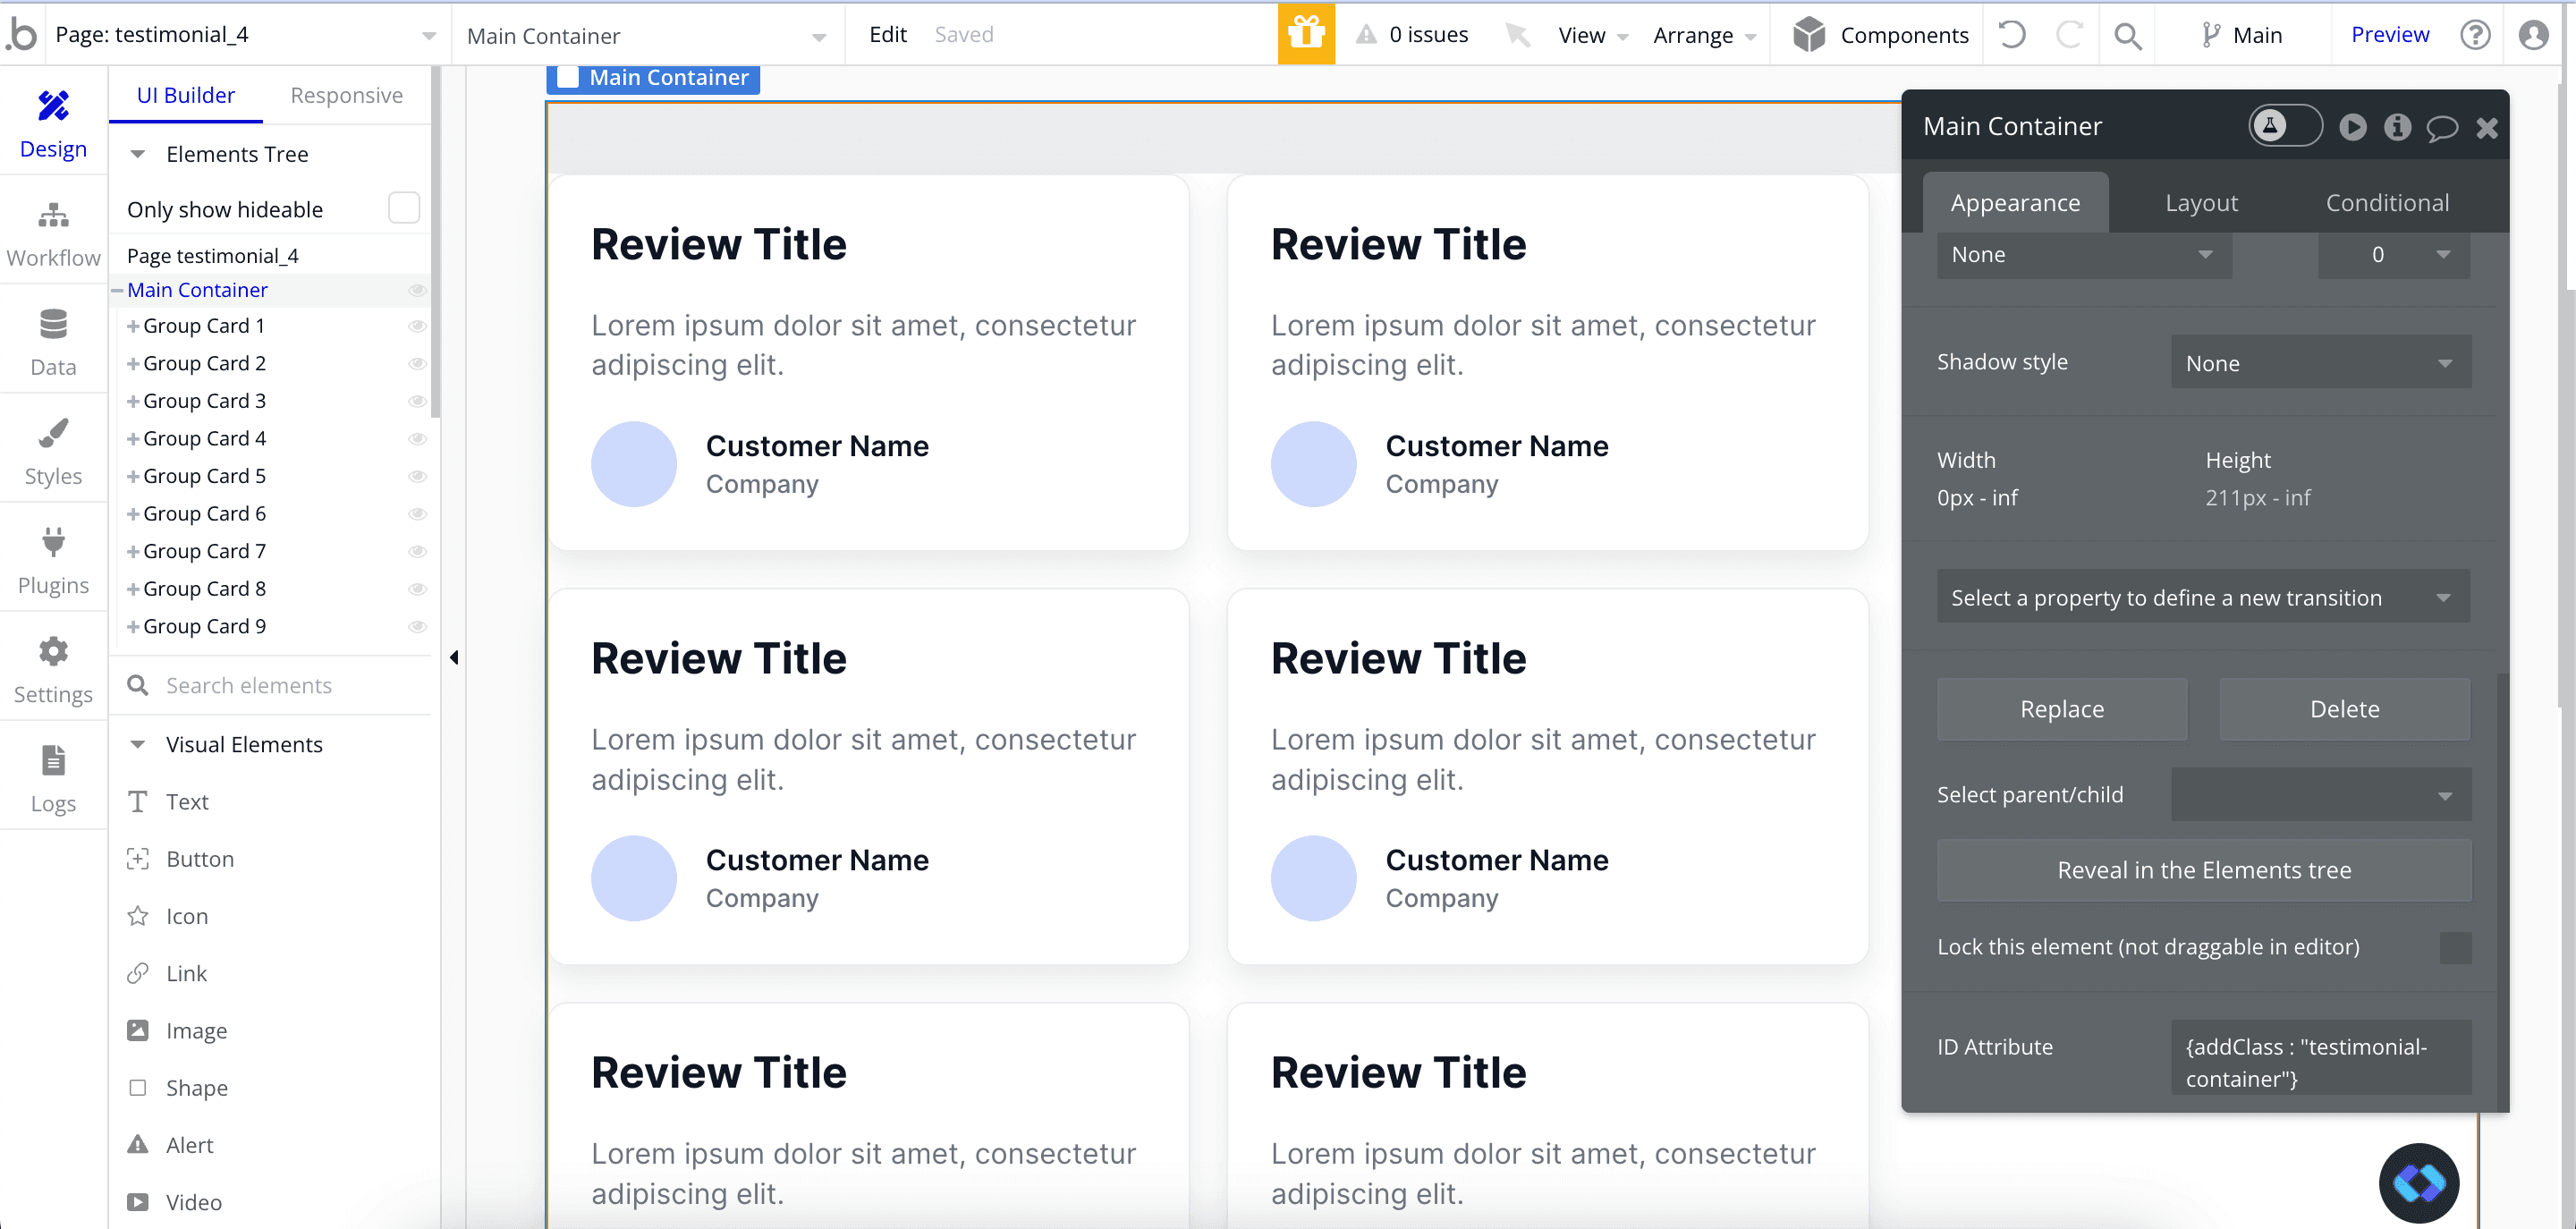
Wrap your elements in a group
First of all, make sure your elements are within a group (or container).
This group's roles is to contain our Cards and we'll apply some CSS to it later, so make sure to identify it clearly.
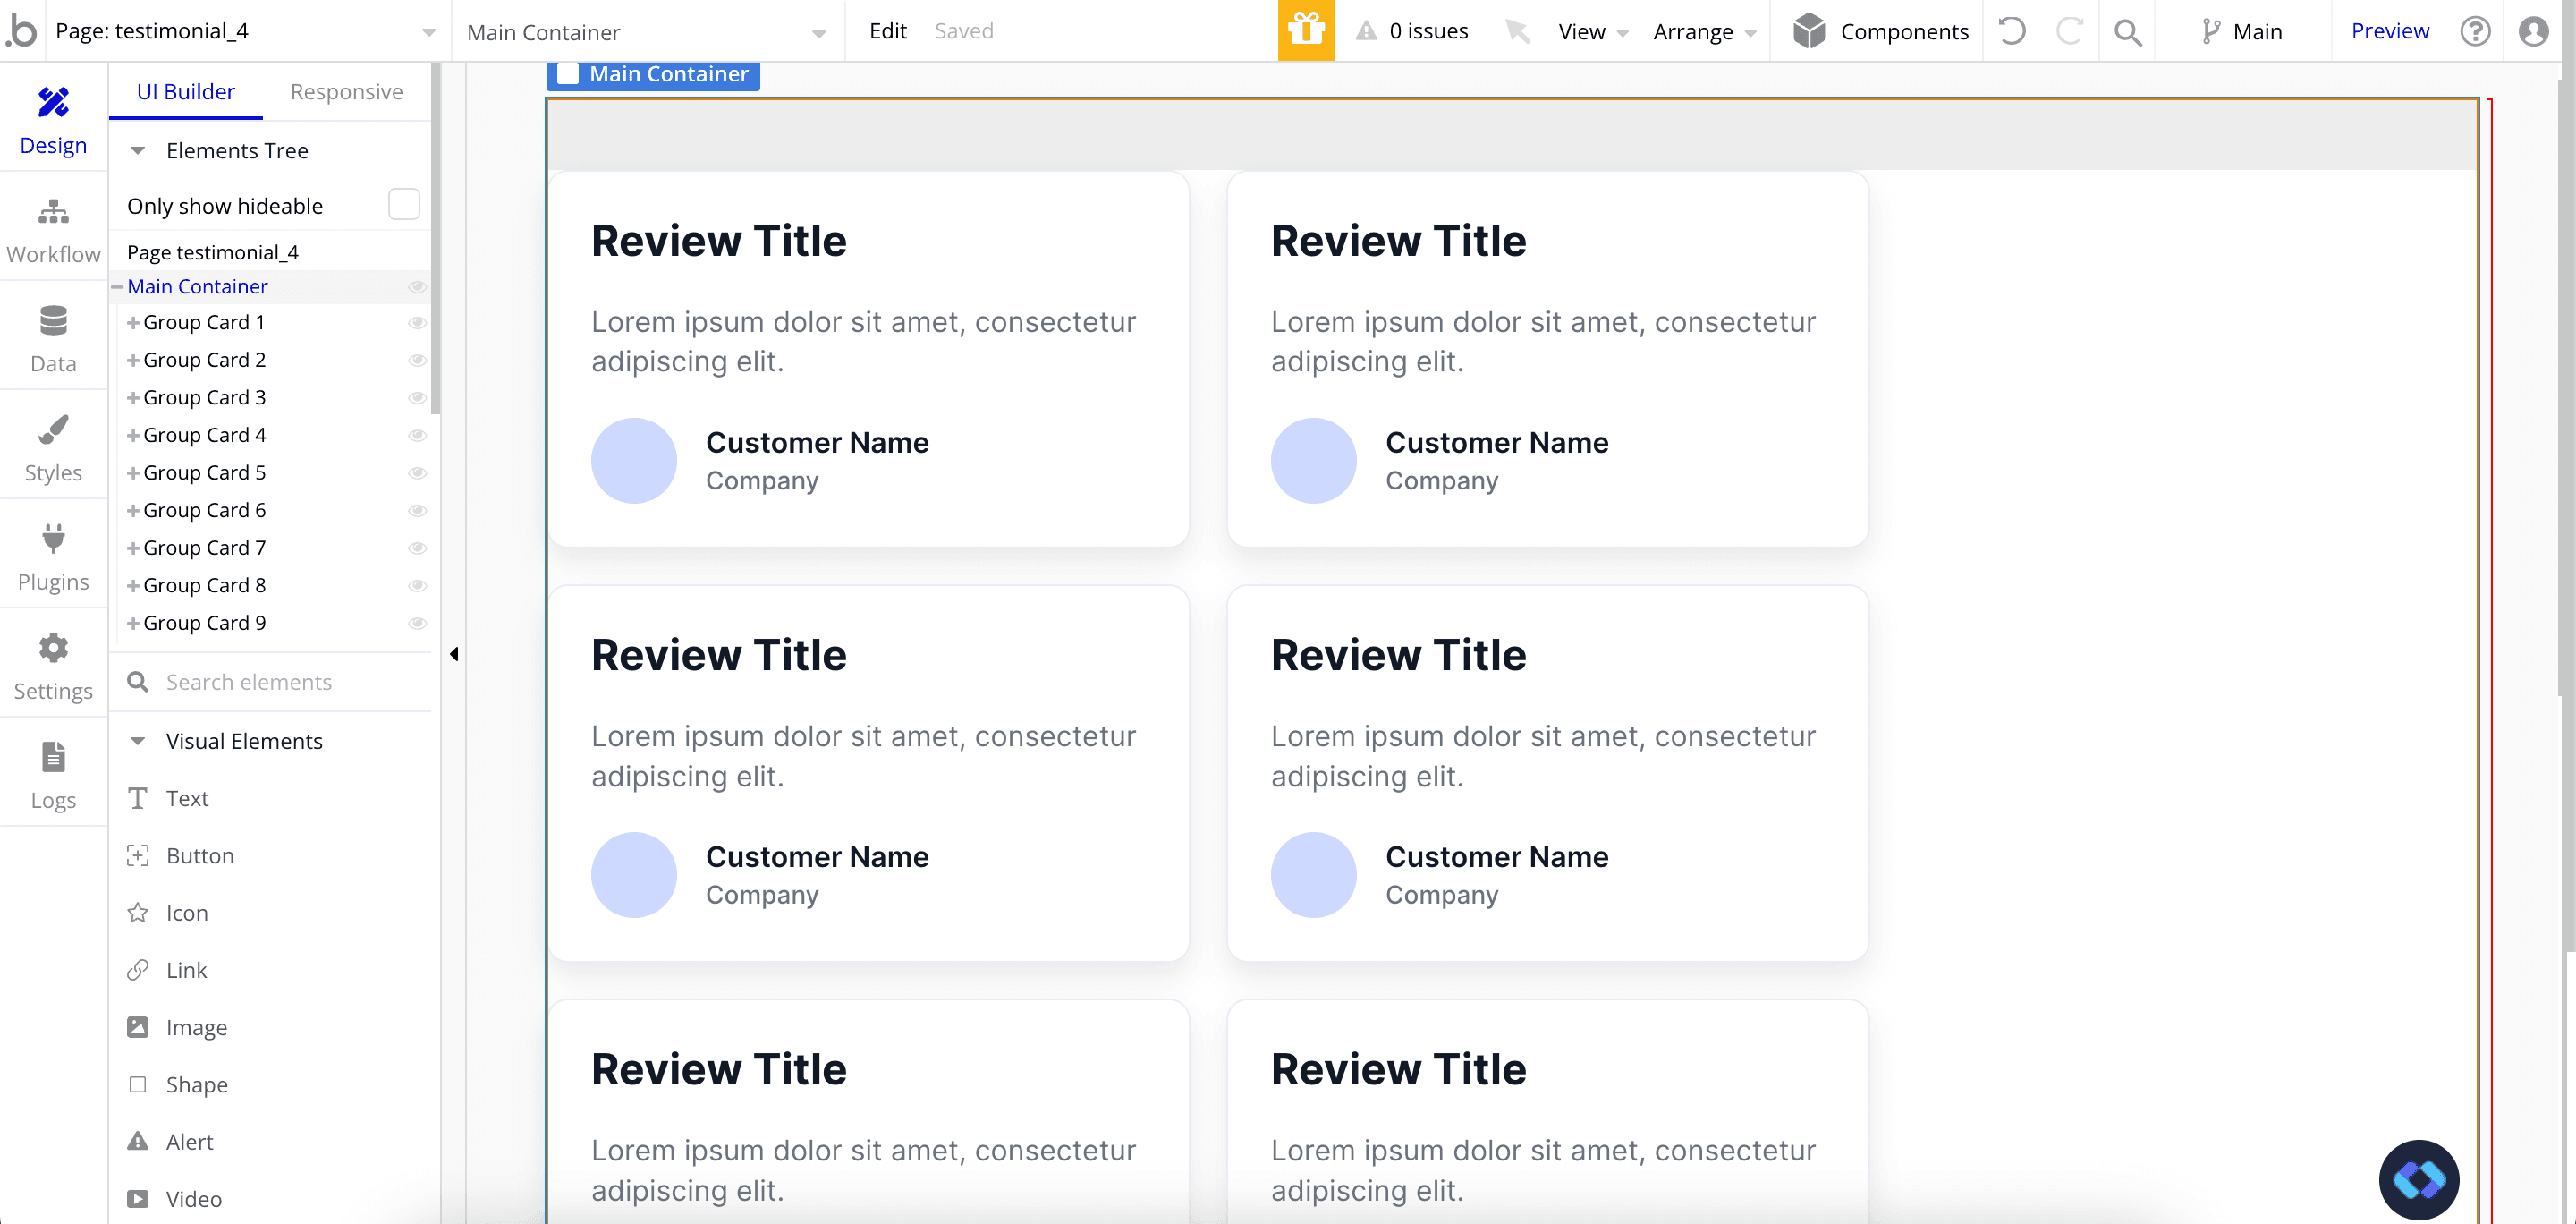
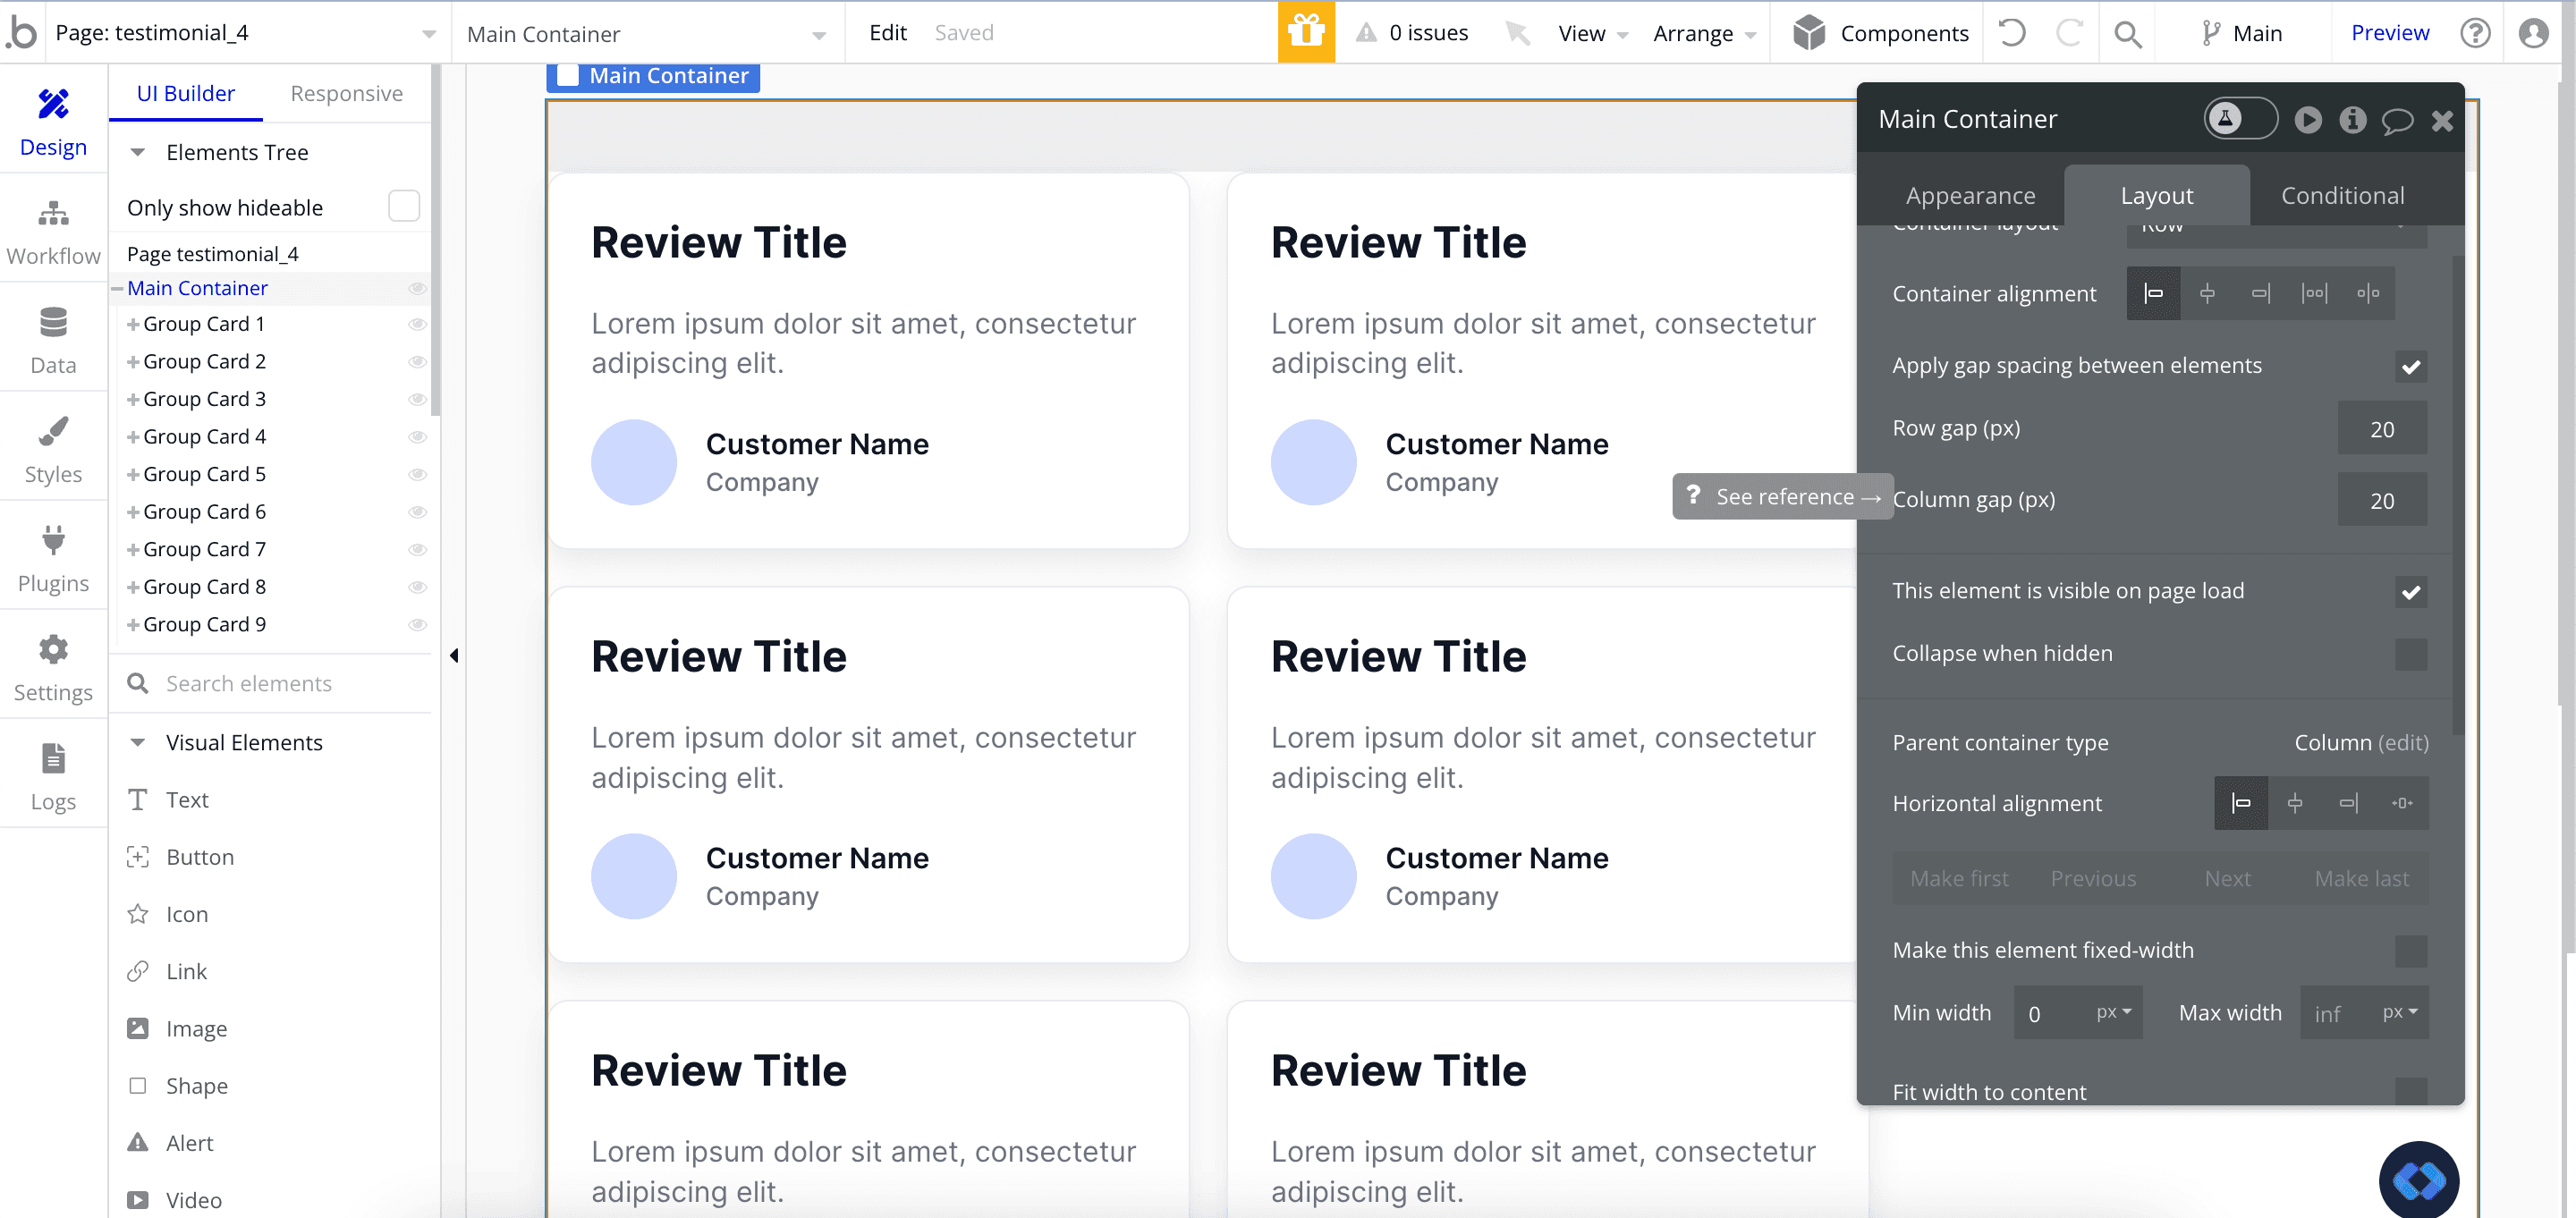
You can see that we have a Main Container, that contains all my cards.
IMPORTANT : Make sure to uncheck "Fit Width to Content" and set the Container Layout to "Row"
If you don't uncheck this, our code won't work, so make sure to uncheck it !
Also, make
In terms of Layout settings, it should look like this :
Note that you can paste as much elements as you want to in this group, and that it also works with Repeating Groups !
Step 4 : Setting up CSS Classes on our Bubble elements
Now is the time to start using Classify !
To do this, we'll need to give CSS Classes to our elements.
To do this, we are going to use a Command to tell Classify to set them.
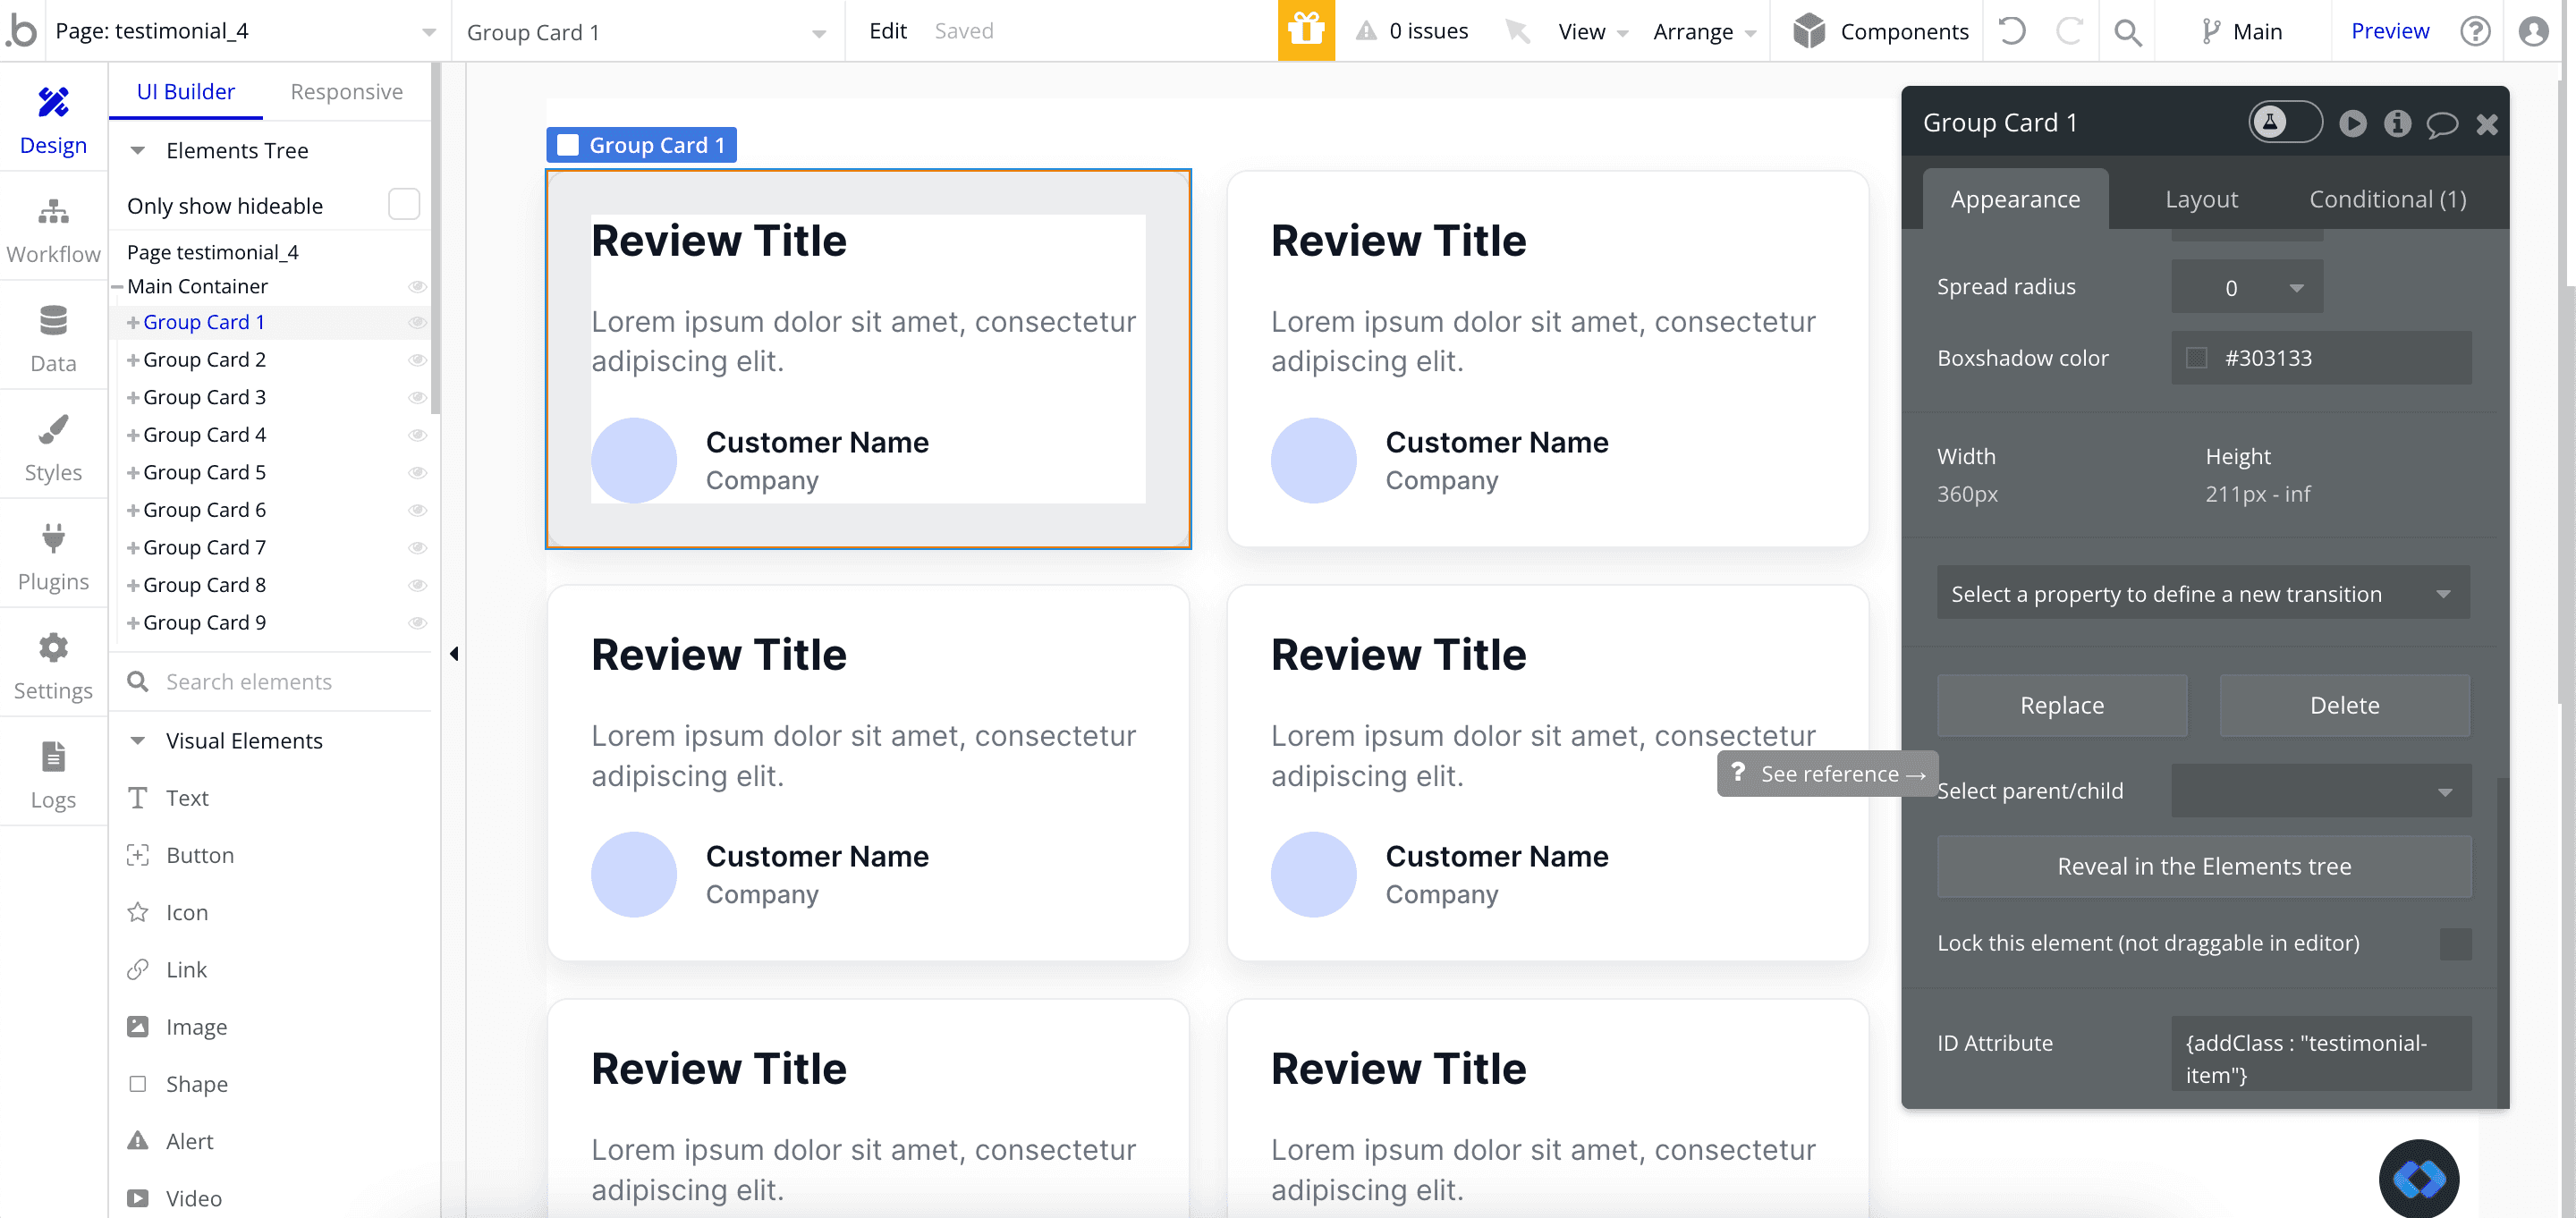
For the Main Container, paste this into the ID Attribute Input : {addClass : "testimonial-container"}
And for each of you card, paste this : {addClass : "testimonial-item"}
You should have this :
Step 5 : Set up our CSS Code on our page
Last step of our tutorials : Implement CSS to our page !
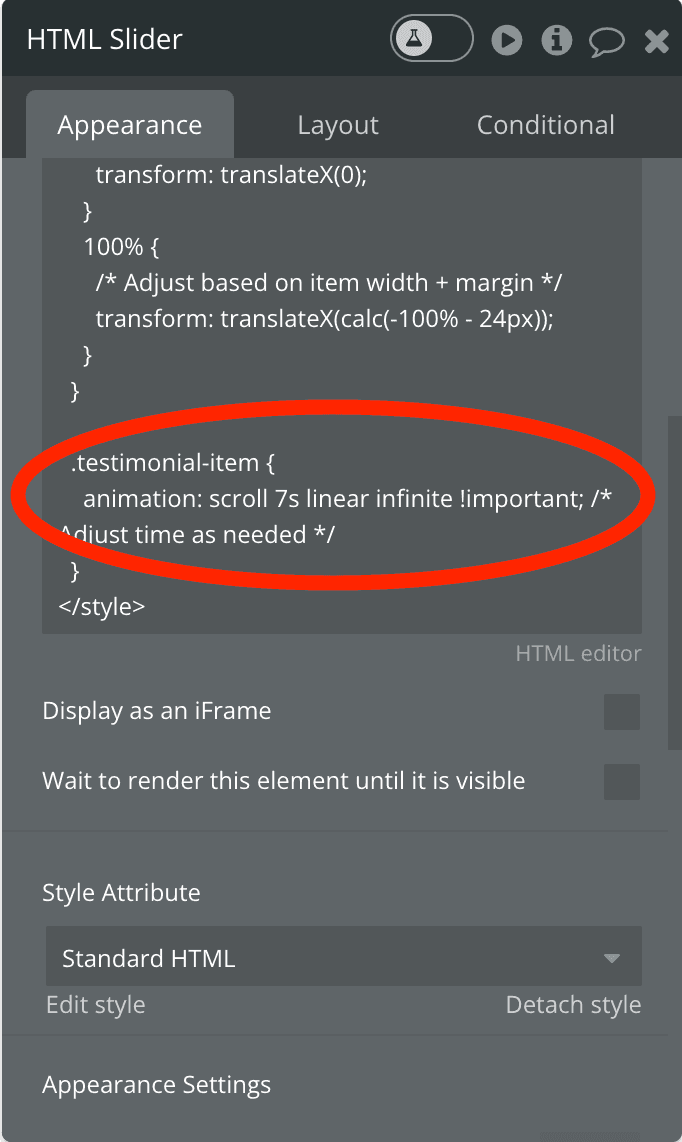
To do this, we are going to use an HTML Element.
So go ahead and drop an HTML Element on your page. You can put it wherever you want on the page, but you need to make sur it is visible !
To make sure it doesn't disturb your page, set it to 1x1 px size and throw it somewhere.
Into this HTML Elements, paste this code :
In short, this code transforms the layout of your Container to make sure it is on a single line, regardless of how many elements there are into it.
It also makes sure that elements that are outside of the page stay hidden. This is what makes them appear and disappear from the page sides.

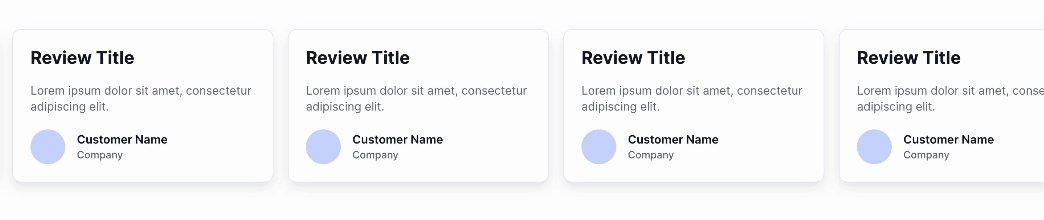
And there you go ! Here is the final result :
(Optional) Step 6 : Change the speed of animation
By default, I've set the length of the animation to 7 seconds. Of course, you can modify this by adjusting the parameter at the end of the code.
Conclusion
There you go !
Now you know how to create your own custom animated slider. You can use it to display anything you'd like, without needing to pay for a plugin.
And if you don't want to spend time creating it, you can find a bunch of animated slider on Nocodable Components !
Thomas Couderq
Founder @ Nocodable
I've been building with Bubble for more than four years now. I've launched several projects (with more or less success). I'm passionate about no code and UI Design, which led me to founding Nocodable Components to help founders and professional Bubble developers build faster on Bubble.


Blog
Continue reading!
Check out our other tutorials to continue improving your Bubble skills!